Adobe Illustrator is one of the most popular 3D graphic design software in the design industry. Besides creating traditional 2D designs, Illustrator also offers the ability to create simple 3D models. Creating 3-D models with Adobe Illustrator is simpler than ever thanks to the 3D Extrude feature.
That's why this article will help 3D design instructions using Adobe Illustrator.

Steps to 3D design in illustrator using the 3D Extrude tool
Step 1: Create dimensions according to the design file
Create a new document Open Illustrator and create a new document by selecting File > new (or press the key combination Ctrl + N on the keyboard). Then choose the desired document size and format.
Step 2: Create cubes to create 3D
Create 2D shapes Use tools like Pen Tool, Rectangle Tool, Circle Tool or any other tool to create 2D shapes for your design.
Step 3: Convert from 2D to 3D image
Convert shapes from 2D to 3D objects. Select your shape and convert it into a 3D object by selecting Menu > Effect > 3D > Extrude & Bevel. In the dialog box Extrude & Bevel, you can adjust settings such as the depth, rotation angle, and length of the shape 3D your.
Step 4: Change colors and add material images
Adding effects and materials Customize the material and effects settings for your 3D shape by selecting Object > Expand Appearance. Then you can use the tools Gradient Tool and Appearance Panel to customize the color and shading of the 3D shape.
That is the 3D design instructions using Adobe Illustrator. Below I will give more detailed instructions on designing the 3D products you desire.
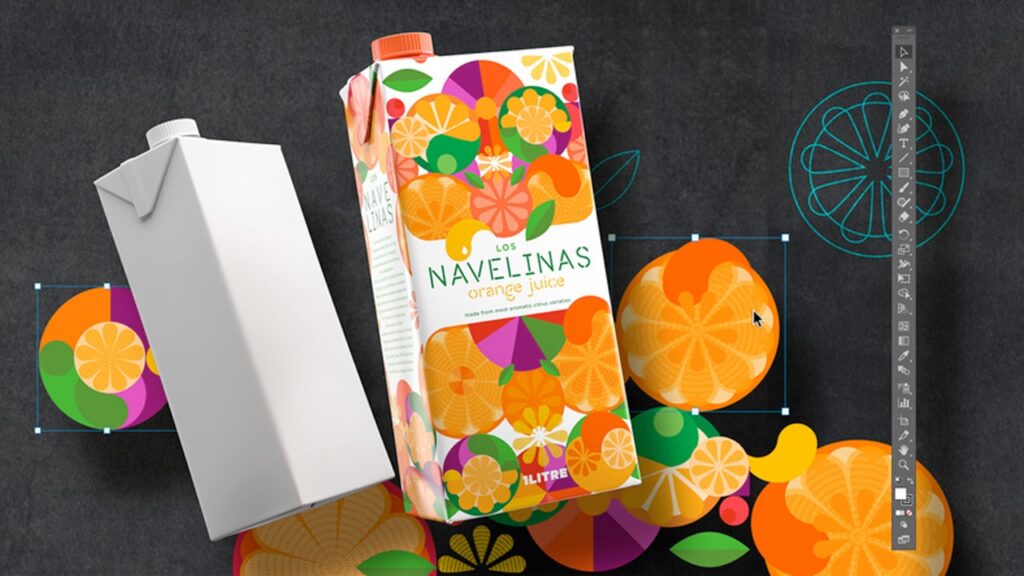
3D box design
To design a 3D box in Adobe Illustrator, you can follow these steps:
Step 1: Create cubes
Create the 2D shape of the box Using the tool Rectangle Tool or Pen Tool to create the 2D shape of the box by drawing a rectangle with the desired lengths and widths. Make sure the rectangle is the same color and has no borders.
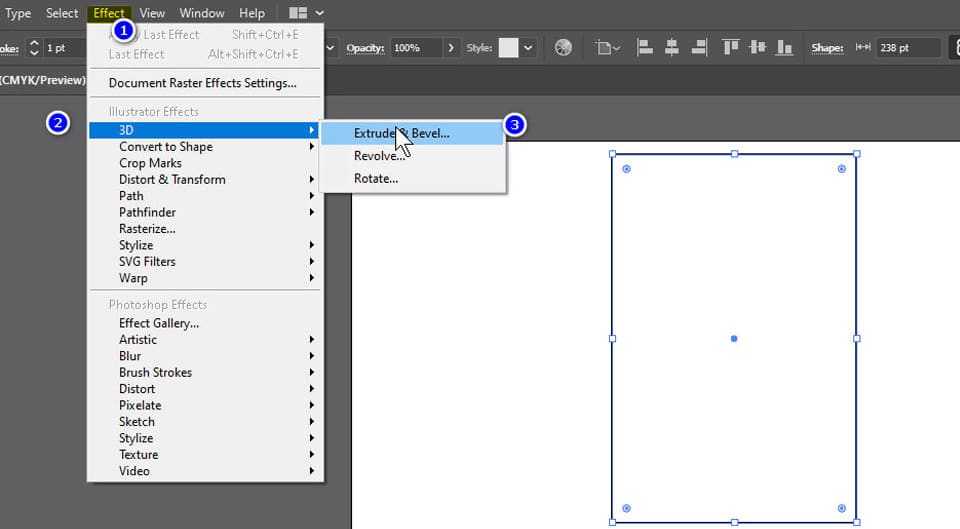
Step 2: Convert from 2D to 3D
Convert a 2D shape to a 3D object Select your shape and convert it to a 3D object by selecting Menu > Effect > 3D > Extrude & Bevel. In the Extrude & Bevel dialog box, you can change the depth, rotation, length, and width values of your 3D box. If needed, you can also change other detailed settings such as brightness, contrast, glow and reflections.
- How to export Illustrator files quickly and accurately
- How to use gradients in design
- HOW TO tools in Illustrator
Step 3: Rotate the 3D view in illustrator
You can create these faces by moving or changing the angle of the image so that we have the most satisfactory view. Then customize the parameters below to get the desired thickness
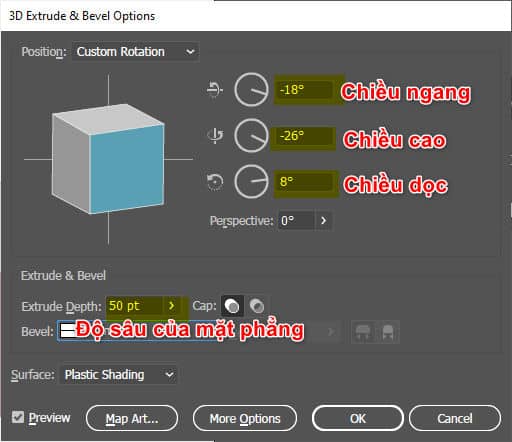
Step 4: Edit the image if you are not satisfied
Customize the sides of the box Using tools Direct Selection Tool or Selection Tool to customize the sides of the box. You can change the size, shape, tilt, and position of each face. Make sure the sides of the box are stacked on top of each other to create a realistic 3D effect.
Step 5: Setting 3D
Create shadows and other details. To create shadows and other details for the box using the tool Appearance Panel, You can find this tool in the menu window. You can add details like materials, buttons or other shapes to create a unique 3D box.
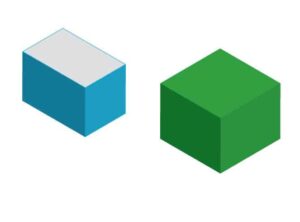
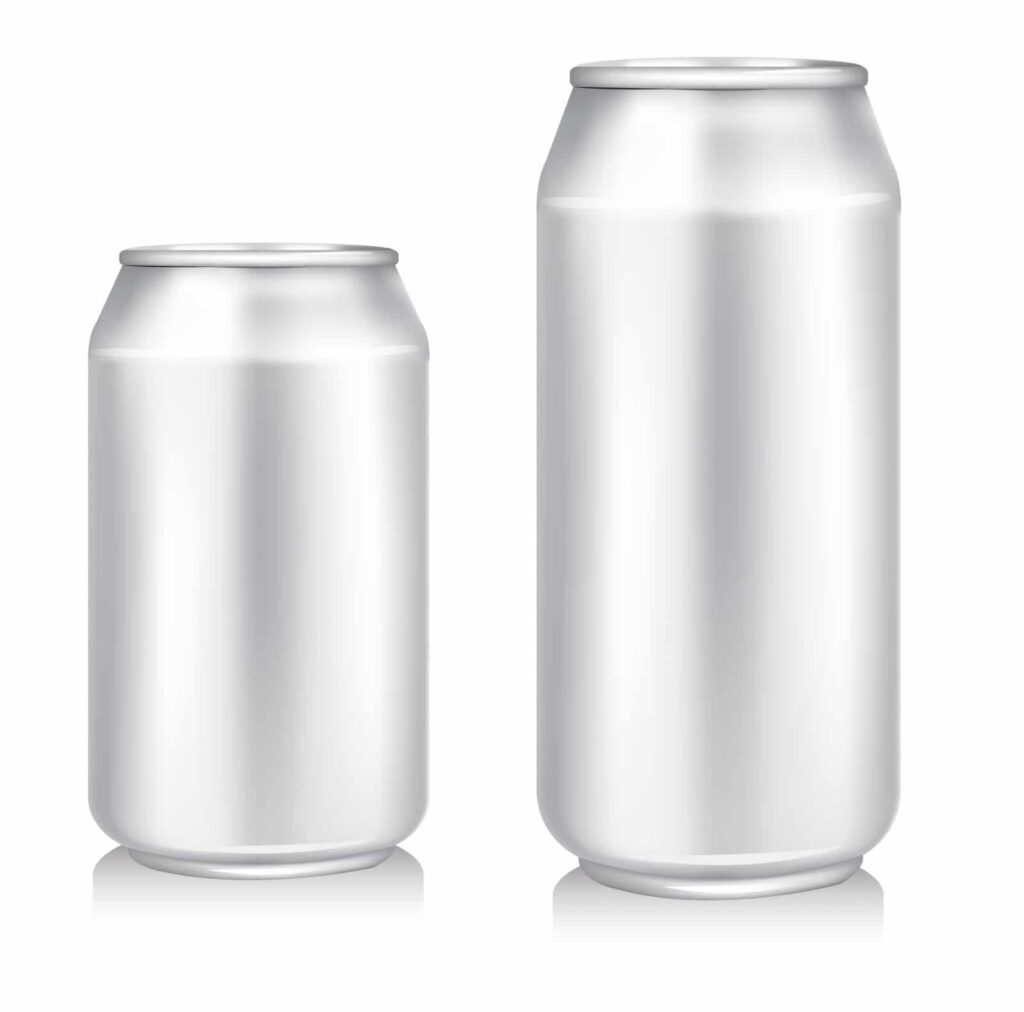
Clear 3D water can design Adobe Illustrator
Step 1: Choose a tool
Create the 2D shape of the can Use the tool Ellipse Tool to draw a circle to represent the bottom of the can. Then, draw a long, narrow rectangle to represent the body of the can. Use the Direct Selection Tool to drag and align the shape's nodes to create the exact shape of the can.
Step 2: Convert from 2D to 3D
Convert a 2D shape to a 3D object Select your shape and convert it to a 3D object by selecting Effect > 3D > Revolve. In the Revolve Options dialog box, select “Preview” to preview your design. You can adjust the rotation angle and depth of the can to create a realistic 3D effect.
Step 3: Create a lid for the water can
Create the lid of the can Using the tool Ellipse Tool to draw a small circle to represent the lid of the can. Convert a 2D shape to a 3D object by selecting it Menu > Effect > 3D > Extrude & Bevel. In the dialog box Extrude & Bevel, change the settings to create the shape of the lid.
Step 4: Edit again if not satisfied
Customize the sides of the can Using tools Direct Selection Tool or Selection Tool to customize the sides of the can. You can change the size, shape, tilt, and position of each face to create a realistic 3D box.
Create shadows and other details Create shadows and other details for the can using tools Gradient Tool or Appearance Panel. You can add details like branding, other shapes, and other details to create unique 3D water cans.
- Instructions for designing packaging in illustrator
- How to use and create Blend in Illustrator
- How to create Pattern in Illustrator in detail
Epilogue
The above article has helped you learn about a basic and most used tool in design. How to use the tool Brush Tools Photoshop to be most effective. Thereby improving manipulation skills in Photoshop. If you are not familiar with Photoshop, you can refer to it Adobe illustrator course by Graphic Express. One-on-one training is very good. Convenient for students and working people.
Good luck. Don't forget to subscribe to the channel Graphic design community | Facebook to receive lots of useful information


